Most vendor problems start before the first work order is ever assigned.
A contractor shows up without gate codes. An invoice arrives in the wrong format three weeks late. A technician casually mentions the word “mold” to a resident, and now the property manager is in litigation. None of these are vendor quality problems. They’re onboarding failures, and they’re the most preventable category of maintenance risk a property manager faces.
The typical onboarding process at most management companies looks like this: accept insurance, maybe check a license, add the vendor to the list, and send them a job to see how it goes. No formal training. No SLA documentation. No system onboarding. The result is predictable: reactive management, inconsistent service, and a staff that spends more time chasing updates than managing properties.
This article breaks down a structured vendor onboarding process that eliminates those gaps: what to do before a vendor gets their first job, how to set expectations that stick, and a 30-day follow-up cadence that catches problems before they become patterns.
A Five-Step Vendor Onboarding Process That Works
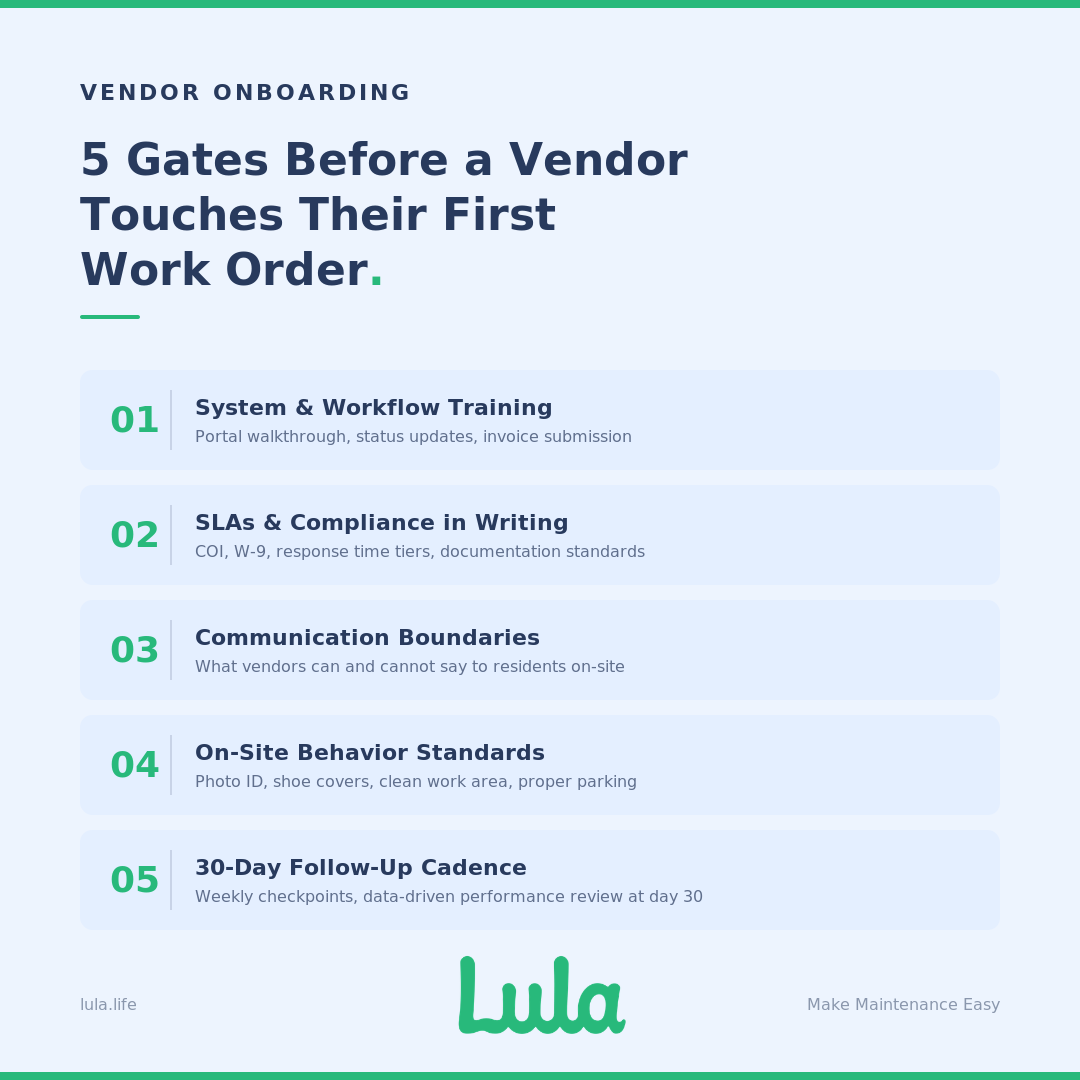
No vendor should receive their first work order until four gates are cleared: compliance documents approved, workflow training complete, communication rules documented, and SLA expectations acknowledged in writing. The five steps below cover how to get each of those in place — and how to verify they stick.
Step 1: Train Vendors on Your System and Workflow
The most common source of operational drag in maintenance is vendor confusion about process. A technician who doesn’t know how to update job status in your portal creates the same administrative burden as a technician who doesn’t show up.
Walk every new vendor through your property management or work order system. Show them how to accept a job, how to update status at each stage, where photos and notes get uploaded, and how invoices get submitted. If you’re on AppFolio, this means walking through the vendor portal specifically—how work orders appear, how to mark arrival and completion, and how the invoicing workflow ties back to the property record.
Be realistic about what you can enforce. Requiring independent contractors to check in on arrival, take before-and-after photos, update status in real time, and check out on departure through your portal sounds great on paper. In practice, most contractors won’t do it consistently unless the process is built into a platform they’re already using. Define what you want, train to it during onboarding, automate reminders where your PMS allows it, and assign someone to follow up on the rest.
Without this training, work orders enter a black hole. Technicians complete repairs but fail to log them. Managers don’t know if a job is blocked, in progress, or done. Staff burns hours each day chasing status updates by phone — time that should be going to portfolio management, not vendor coordination.
Step 2: Set Service Expectations and Compliance Requirements
Vague expectations produce inconsistent results. Every vendor needs to know exactly what “on time” and “done right” mean in your operation—and your compliance documentation needs to be locked in before they start.
At minimum: a Certificate of Insurance (COI) with Additional Insured endorsements naming your management company, a W-9 with verified TIN, and trade-specific licenses validated against the issuing state board. In Texas, that’s TDLR. In Florida, DBPR. In California, CSLB. If you manage across multiple states, your compliance checklist needs to account for each jurisdiction individually.
Define response time tiers explicitly and put them in writing:
- Emergency (active flooding, gas leaks, total power loss): scheduled within 4 hours
- Urgent (refrigerator failure, loss of hot water, single toilet in a one-bath unit): response within 24 hours
- Routine (slow drains, loose hardware, functional but noisy HVAC): scheduled within 48 hours
- Planned (preventive maintenance, cosmetic work): 5–10 business days
These aren’t arbitrary. Your SLA tiers need to account for local legislation. Denver, for example, requires someone on-site for certain emergency maintenance within 24 hours. If your vendor agreements don’t reflect these jurisdictional requirements, your compliance framework has a gap that won’t surface until something goes wrong.
Every completed job should include before-and-after photos, technician notes written clearly enough for an owner to read, and an invoice submitted within 48 hours. Make these non-negotiable from day one. Vendors who don’t document properly in week one won’t start in month six.
Step 3: Define Communication Rules with Residents
This is where onboarding pays for itself, or where the absence of it gets expensive.
A real example: a contractor casually mentioned “mold” to a resident during a routine repair. That single word put the property manager into litigation. In another case, a technician commented that an HVAC system was 17 years old and would “probably need replacing soon.” The next day, the resident was demanding a full system replacement from the management company.
These aren’t edge cases. They’re what happens when vendors aren’t trained on communication boundaries.
Rules that should be in every vendor onboarding packet:
- Never discuss pricing with residents. Not estimates, not actuals, not ranges.
- Never use the word “replacement” or speculate about future work. Diagnoses go to the property manager first.
- Never mention safety concerns such as mold, moisture, mildew, structural issues, directly to residents. Report findings to the PM and let the PM control the communication.
- Never share personal opinions about the condition of the property or its systems with residents.
Training vendors on what not to say is as important as training them on the work itself. This isn’t about controlling information — it’s about preventing a casual comment from becoming a liability event or a resident expectation the management company didn’t authorize.
Step 4: Set On-Site Behavior Standards
Professionalism on-site directly affects resident satisfaction, which directly affects retention, which directly affects NOI. This is measurable.
What to include in your on-site standards:
- Photo ID or company badge visible during every visit
- Check-in with onsite staff or resident before entering a unit
- Shoe covers and protective coverings for flooring in occupied units
- Clean work area on departure — no debris, no materials left behind
- Vehicle parked in designated areas, not blocking resident access
- No photography beyond what’s required for the work order
These standards seem basic, but they’re the items that generate resident complaints when they’re missed. A technician who tracks mud through a unit or leaves a mess in a kitchen creates a negative resident experience that hits the PM’s inbox, not the vendor’s.
Step 5: Build a 30-Day Onboarding Follow-Up Cadence
Onboarding doesn’t end when the paperwork is signed. The first 30 days determine whether a vendor becomes a reliable part of your operation or a recurring source of problems.
- Week 1—Foundation and technical integration: Verify the vendor has logged into your portal, completed their profile, and acknowledged your SOPs. Resolve day-one hurdles: incorrect gate codes, portal login issues, notification settings. The metric is simple, 100% portal login and notification setup confirmed.
- Week 2—Performance monitoring: Review the first batch of completed work orders. Focus on digital behavior: Are status updates happening in real time? Are before-and-after photos clear and appropriately framed? Are technician notes professional enough for an owner to read? This is the optimal window for course-correction, before bad documentation habits take root.
- Week 3—Feedback loops: Solicit feedback from onsite teams — leasing agents, maintenance leads — about vendor behavior and professionalism. Address any resident complaints immediately with the vendor’s primary contact. Verify financial integration: Are invoices arriving in the correct format? Does the vendor’s accounts receivable team understand your payment cycle?
- Week 4—Formal 30-day performance review: This is a data-driven checkpoint. Evaluate whether the vendor met the milestones agreed upon during onboarding. Target benchmarks: initial invoice accuracy above 98%, SLA adherence above 90%. If a vendor isn’t meeting these thresholds by day 30, you have a decision to make — and you’ll have the data to make it.
The philosophy behind this cadence is straightforward: 50% relationship, 50% data. Even a vendor you have a strong personal rapport with needs to be held accountable by the numbers. The check-in cadence gives you both—regular face time to build the relationship, and structured checkpoints to verify performance.
Vendor Onboarding Checklist
Use this as a pre-dispatch gate. No vendor should receive their first work order until every item is confirmed.
- Compliance: W-9 collected and TIN verified, COI with Additional Insured endorsement on file, trade-specific licenses validated, background check completed, Master Service Agreement executed.
- System and Workflow: Portal account created and login confirmed, work order acceptance process demonstrated, status update and photo documentation requirements reviewed, invoice format and timeline agreed.
- Expectations and Standards: SLA tiers reviewed and signed, communication rules acknowledged, on-site behavior standards reviewed, escalation procedures documented, 30-day check-in cadence scheduled.
For a more detailed version, including insurance auto-block setup, competency testing, resident communication guardrails, and approved vendor register management, download the full Vendor Compliance Audit Checklist.
Vendor Onboarding SOP: The Full Lifecycle
For teams building a formalized standard operating procedure, here’s the lifecycle in five phases:
Phase 1: Sourcing and Pre-Qualification. Identify vendor needs by trade category and service area. Source candidates through referrals, industry networks, and platform marketplaces. Screen against minimum requirements before investing time in full onboarding.
Phase 2: Compliance Audit. Collect and verify all documentation — COI, W-9, licenses, background checks. Validate Additional Insured endorsements. Set up automated expiration tracking with alerts at 60, 30, and 7 days.
Phase 3: Contractual and Financial Setup. Execute the Master Service Agreement. Confirm rate schedules and not-to-exceed thresholds by trade category. Set up the vendor in your accounting system with agreed invoice format and payment terms.
Phase 4: Orientation and System Integration. Complete portal training. Review SLA tiers, communication rules, on-site standards, and documentation requirements. Confirm the vendor can receive, accept, and update a test work order before going live.
Phase 5: 30-Day Review. Execute the weekly check-in cadence and the formal 30-day performance review. Evaluate against agreed benchmarks. Make a retain, retrain, or replace decision based on data.
Building a Vendor Onboarding Process That Scales
The difference between a property manager who spends their afternoon chasing vendors and one who doesn’t usually comes down to what happened—or didn’t happen—before the first work order was assigned. A structured contractor onboarding process takes time upfront. But the time it saves in rework, compliance gaps, resident complaints, and staff burnout pays back within the first month.
The vendor onboarding checklist and SOP in this article are designed to work whether you’re managing 50 doors or 5,000. The fundamentals don’t change with scale: verify compliance before dispatch, train vendors on your systems and communication rules, set expectations in writing, and follow up in the first 30 days to confirm the vendor is performing.
If managing vendor onboarding, compliance tracking, and performance monitoring across your portfolio is taking more hours than it should, Lula’s vendor network handles it from pre-qualification through ongoing accountability, so your team can focus on the properties, not the vendors.
Vendor Onboarding FAQs
How long should the vendor onboarding process take?
The pre-dispatch phase (compliance verification, portal training, and SLA documentation) typically takes 3–5 business days for a responsive vendor. The full onboarding cycle, including the 30-day follow-up cadence, takes one month. Don’t compress the timeline to fill an immediate staffing gap. A vendor dispatched before they’re onboarded will cost more in rework and administrative overhead than the wait.
What’s the minimum compliance documentation required before dispatch?
At minimum: a Certificate of Insurance with Additional Insured endorsement, a W-9 with verified TIN, and trade-specific licenses validated against the issuing state board. Many management companies also require background checks. The specific requirements vary by state and by your company’s risk tolerance, but these three form the compliance floor.
How do you handle vendors who resist the onboarding process?
Set expectations upfront: the onboarding process is a condition of working with your company, not a suggestion. Vendors who push back on documentation, training, or SLA sign-off are telling you something about how they’ll perform on the job. That said, keep the process efficient — vendors have limited patience for bureaucracy, and a 45-minute onboarding session will get more buy-in than a 20-page binder.
Should vendor onboarding differ by trade or service category?
The compliance and communication framework should be consistent across all trades. What changes is the technical detail: SLA response times may differ between emergency plumbing and cosmetic painting. License requirements are trade-specific. Service tier designations vary. Build a universal onboarding framework and layer trade-specific requirements on top.
What tools help automate vendor onboarding?
Most modern PMS platforms such as AppFolio, Buildium, Rentvine, Rent Manager, support vendor portal setup, compliance document storage, and automated expiration alerts. The automation handles the tracking; the onboarding itself still requires a person to walk the vendor through expectations, answer questions, and confirm understanding. Automation without training is just organized paperwork.
Anything found written in this article was written solely for informational purposes. We advise that you receive professional advice if you plan to move forward with any of the information found. You agree that neither Lula or the author are liable for any damages that arise from the use of the information found within this article
